
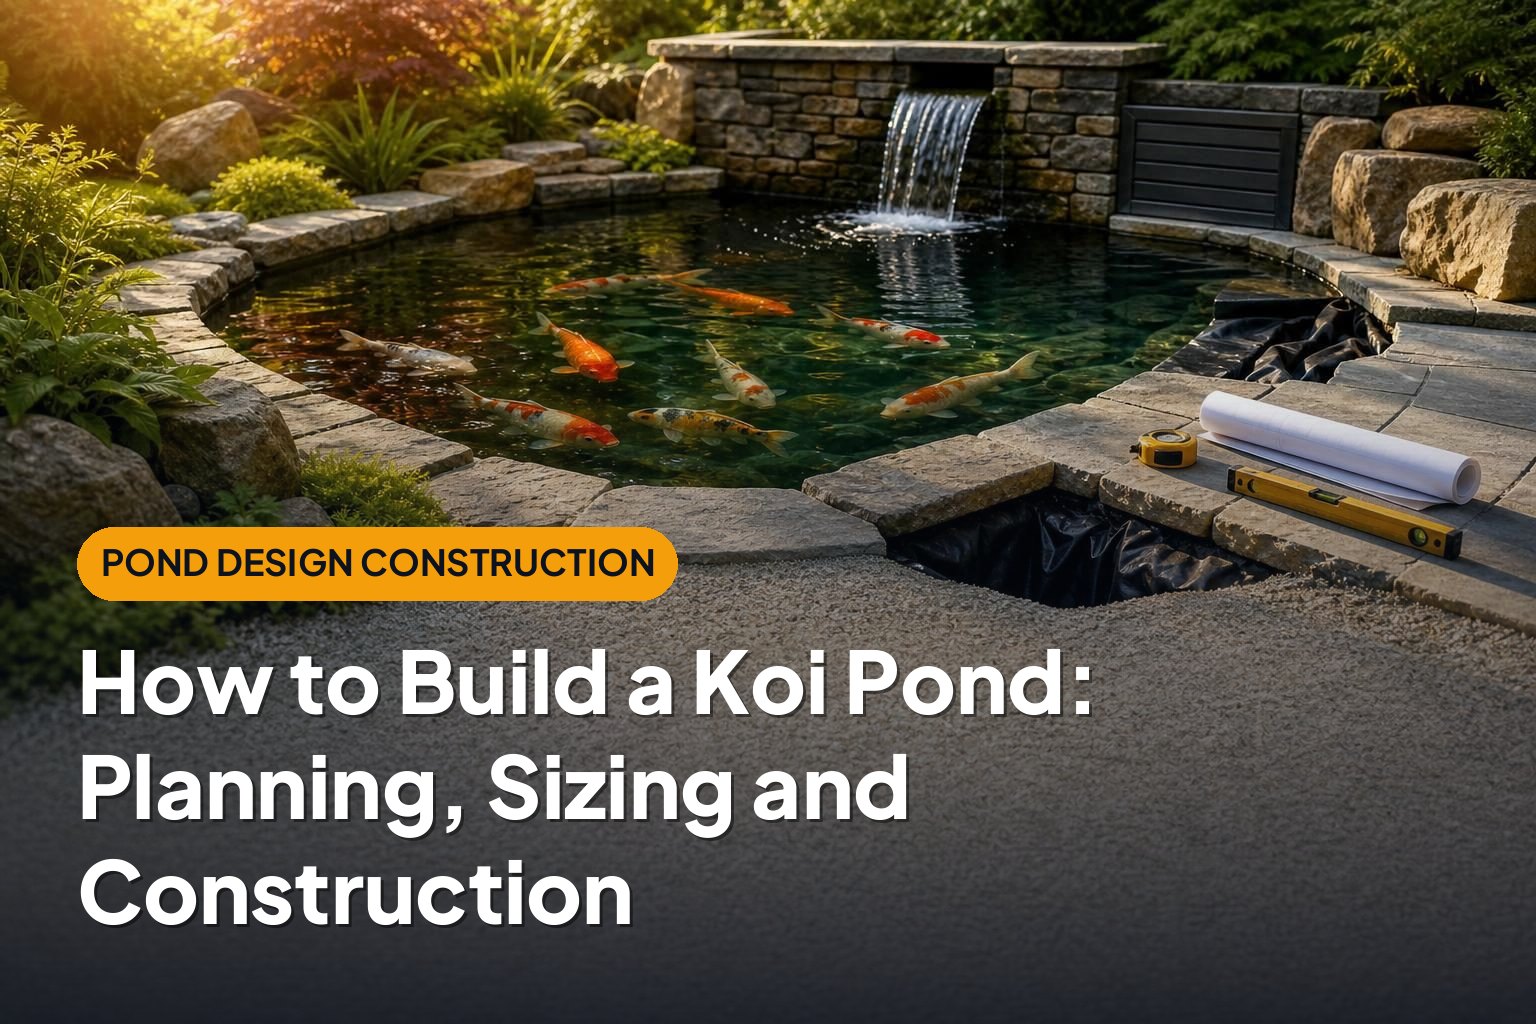
Learning how to build a koi pond starts with planning the water, not just digging a hole. Koi grow large, produce substantial waste, and need dependable filtration, oxygen, and protection from temperature swings. A successful pond brings all of those needs together in a structure you can safely clean and maintain. This guide walks through the process from choosing a site and sizing the pond to installing the liner, starting the filtration, and introducing fish.
1. Plan the Site, Layout, and Budget
Before choosing pumps or ordering materials, sketch the pond and its surroundings. Include the viewing area, filter location, electrical supply, water supply, drainage route, and access for maintenance.
Choose a practical location
A position visible from the house makes the pond easier to enjoy and monitor. Some shade can help limit summer heating, but placing the pond directly beneath large trees creates problems with leaves, roots, and excavation.
- Check underground services: Have buried utilities located before digging.
- Avoid runoff: Lawn treatments, soil, and stormwater should not wash into the pond.
- Consider groundwater: High groundwater can complicate excavation and lift an empty liner.
- Allow equipment access: Filters need space for opening lids, cleaning, replacing parts, and draining waste.
- Plan safe access: Leave stable walking and working areas around the pond.
Check local requirements for permits, pond barriers, electrical work, setbacks, and wastewater disposal. Depending on local rules and the pond’s design, requirements similar to swimming-pool safety measures may apply.
Budget for the complete system
The excavation and waterproof shell are only part of the cost. Include filtration, pumps, air equipment, pipework, valves, electrical installation, edging, spoil removal, testing supplies, and contingency money for unexpected ground conditions.
Also consider ongoing electricity, water replacement, filter maintenance, and eventual equipment replacement. A slightly simpler pond with accessible, reliable equipment is usually a better choice than an elaborate design that stretches the budget too far.
2. Decide on Pond Size, Depth, and Shape
Size the pond for the koi you intend to keep as adults, not the small fish you may buy initially. More water generally provides greater stability, but water volume cannot compensate for overcrowding or inadequate filtration.
Choose a useful depth
Many dedicated koi ponds are designed around a depth of 4 to 6 feet. This is a planning range, not a universal requirement: climate, local regulations, ground conditions, and structural design all affect the right depth.
A shallow ornamental pond may experience faster temperature changes and give predators easier access. However, deeper construction increases excavation, structural demands, and safety concerns. In cold climates, winter survival also depends on gas exchange, oxygen availability, stocking, and local winter conditions—not depth alone.
A detailed assessment of how deep a koi pond should be is worth making before the excavation plan is finalized.
Estimate the water volume
For a roughly rectangular pond with vertical sides and a level floor, use:
Length in feet × width in feet × average water depth in feet × 7.48 = approximate US gallons.
For example, a pond measuring 12 feet long, 8 feet wide, and 4 feet deep holds approximately 2,870 US gallons before allowing for steps, slopes, and other features. For measurements in meters, multiply length × width × average depth × 1,000 to estimate liters.
Irregular shapes need more careful calculation. Record actual fill volume with a water meter when possible, since accurate volume matters when dosing water treatments.
Keep the shape easy to circulate and clean
Simple shapes are easier to waterproof, measure, and circulate than designs with narrow channels and isolated bays. Rounded internal corners can reduce areas where debris collects. Broad shallow shelves are not essential in a dedicated koi pond and can provide standing places for predators.
If you want aquatic plants, consider a separate planted area or protected baskets. Koi often disturb exposed roots and planting media.
3. Design Filtration, Circulation, and Aeration First
One of the most important steps in learning how to build a koi pond is designing the life-support system before construction. Bottom drains, skimmers, returns, and filter elevations affect the shell and pipe layout, so they cannot all be left until later.
Understand the main components
- Mechanical filtration: Removes solid waste, such as fish feces, uneaten food, and leaf fragments.
- Biological filtration: Provides surfaces where beneficial microorganisms process ammonia and nitrite.
- Pump: Moves water through the chosen circulation system.
- Aeration: Supports fish and biological filtration, especially during warm weather.
- Skimmer: Collects floating debris before it sinks.
- Bottom drain: Carries settled waste toward suitable filtration when correctly designed.
- UV clarifier: Can help control suspended green-water algae, but does not replace filtration.
Many koi pond systems are designed around circulating approximately the pond’s volume every one to two hours. Treat this as an initial planning guideline rather than a fixed rule. Stocking, feeding, filter requirements, pond geometry, and the actual delivered flow all matter.
Choose a pump using its performance curve at the system’s expected total head, not just its maximum advertised flow. Pipe friction, elevation changes, fittings, and equipment restrictions reduce delivery.
Choose gravity-fed or pump-fed filtration
In a gravity-fed arrangement, water moves from the pond into appropriately positioned filters before a pump returns it. These systems require careful planning of operating water levels, pipe sizes, and filter placement.
In a pump-fed arrangement, the pump sends pond water to the filter. This can suit some layouts, but solids handling and filter return heights still need attention.
Either approach should include accessible isolation valves, cleaning points, and a planned waste outlet. Use an experienced pond-system designer if you are unsure how the components should work together.
4. Choose the Shell, Liner, and Underlay
The main construction choice is usually between a flexible liner pond and a structurally engineered rigid shell. Both can work well when properly designed and installed.
Concrete versus liner construction
| Construction type | Main advantages | Main considerations |
|---|---|---|
| Flexible liner | Adaptable shapes, fewer specialist finishing requirements, and practical options for many domestic builds | Needs puncture protection, careful folds, secure edging, and compatible fittings |
| Concrete or reinforced masonry shell | Precise geometry, integrated raised walls, and a clean architectural appearance | Requires appropriate structural design, crack control, curing, and a suitable waterproofing system |
Concrete is not automatically watertight, and fresh cement-based surfaces can affect water chemistry. Choose a complete construction and waterproofing specification rather than treating a coating as a remedy for inadequate structure.
EPDM versus PVC liners
EPDM pond liner is flexible and generally well suited to outdoor exposure and irregular shapes. It is often heavier and more expensive initially than thinner PVC options.
PVC liners vary considerably in thickness and formulation. Some are suitable for pond use, but cold-weather flexibility, sunlight resistance, warranty terms, and expected service life deserve close comparison.
When choosing the best pond liner for koi, prioritize documented suitability for fish ponds, material quality, installation requirements, and manufacturer support. Do not substitute an unknown roofing membrane simply because it looks similar.
Firestone PondGard EPDM is a recognizable pond-liner product. If considering it, check the exact product specification, current warranty terms, available sheet sizes, and approved accessories rather than assuming every EPDM sheet is equivalent.
Calculate liner size before buying
For a simple pond, a common starting calculation is:
- Liner length: Maximum pond length + twice the maximum depth + edging allowance at both ends.
- Liner width: Maximum pond width + twice the maximum depth + edging allowance at both sides.
Allowances depend on how the liner will be anchored and finished. Shelves, raised walls, irregular contours, and waterfalls can require additional material. Confirm the calculation against the finished excavation before ordering or cutting.
Protect the liner with suitable underlay
A purpose-made pond geotextile underlay is a dependable option for separating the liner from the prepared ground. Ground containing sharp stones or rubble may need additional preparation and protection.
Sand can smooth minor irregularities, but it is not always a substitute for protective fabric and can move in some conditions. Avoid relying on old carpet or unknown waste materials that may contain sharp objects, deteriorate, or introduce contaminants.
5. Set Out the Pond and Complete the Excavation

Mark the outline with a hose, string, or marking paint. Establish a fixed reference for the intended water level and check the surrounding ground, pond rim, filter position, and overflow against it.
A level pond rim is essential. If one edge is lower than the others, the pond can overflow there before the rest of the edging is properly covered.
- Arrange access and spoil removal: Excavated soil expands when loosened, so plan where it will go.
- Excavate to the construction dimensions: Allow for foundations, structural walls, underlay, and finishing layers.
- Prepare structural support: Raised sides and deep excavations need suitable foundations and wall design.
- Install planned buried services: Position drain pipework and other penetrations before closing access.
- Prepare the base: Remove roots, sharp stones, debris, and unstable material.
Do not enter an unsupported excavation with potentially unstable sides. Soil can collapse without warning, particularly after rain. Deep excavations, groundwater problems, retaining walls, and work near buildings warrant professional assessment.
For a dedicated koi pond, a smooth, accessible floor generally makes waste management easier than loose gravel or rocks. Floor slopes and return positions should support the intended drain and circulation design.
6. Install the Waterproofing, Pipework, and Equipment
Follow the instructions for the chosen liner or waterproofing system. Installation details around drains, skimmers, and returns are especially important because these are common locations for leaks.
Fit a flexible liner carefully
- Lay the underlay: Cover the prepared base and sides, overlapping or securing it as specified.
- Position the liner: Center the sheet and leave generous material beyond every edge.
- Form neat folds: Let the liner sit against the pond contours without stretching it tightly.
- Install penetrations: Use compatible flanges, gaskets, sealants, and fastening sequences.
- Fill gradually: Adjust folds and allow the liner to settle as water is added.
- Delay final trimming: Wait until the pond is full, settled, and checked before removing surplus material.
Avoid walking on an unprotected liner or dragging equipment across it. Large sheets are heavy and awkward, so arrange enough help to position them safely.
Test before hiding the work
Use pressure-rated pipe and fittings where required, and test plumbing with an appropriate water-based procedure before backfilling. Do not use compressed air for improvised pressure tests.
Install pumps and filters so they can be isolated and removed without dismantling the pond. Protect exposed equipment from weather as specified by its manufacturer, while maintaining ventilation and service access.
Have outdoor electrical supplies installed to local requirements, including appropriate GFCI or RCD protection. Keep electrical connections out of flood-prone locations and use equipment rated for the intended environment.
7. Finish the Edges, Overflow, and Safety Features
Edging should protect the waterproofing from sunlight and physical damage while creating a stable pond perimeter. Coping stones and surrounding paving need proper support; they should not depend on unsupported soil or press sharp edges directly into the liner.
Keep mortar, cement wash, dust, and construction chemicals out of the pond. Prevent water from escaping through liner folds or being drawn over a low edge by adjacent soil or absorbent materials.
- Add a planned overflow: Route excess water to a permitted location without flooding neighboring land.
- Prevent backflow: Any permanent water connection needs protection appropriate to local plumbing rules.
- Secure access: Use barriers or other required safeguards to protect children and visitors.
- Consider wildlife: Provide an escape route where practical without creating an easy predator platform.
- Keep maintenance safe: Make valves, filter lids, and drain controls reachable from stable ground.
Waterfalls and streams need their own leak and splash checks. Run the complete system before completing landscaping, and confirm that a power outage will not cause filters or other components to overflow.
8. Fill, Cycle, and Introduce Koi Gradually
A completed pond is not immediately a mature pond. The biological filter needs time and an ammonia source to develop its processing capacity.
Commission the system
Remove construction debris, fill the pond, and treat mains water with a conditioner suitable for chlorine and chloramine as applicable. Start circulation and aeration, then check fittings, operating levels, flow, and filter function.
Test source water and pond water for pH and carbonate hardness, and monitor ammonia and nitrite during startup. Chloramine treatment can leave ammonia that the biofilter must process, so understand what your conditioner does.
A controlled fishless cycling process can establish biological filtration without exposing koi to startup ammonia and nitrite. Follow a reliable method and confirm performance through testing rather than assuming the pond is ready after a fixed number of days.
Stock slowly and plan ongoing maintenance
Introduce a small initial group only when the system is ready, and quarantine new koi in a separate, properly filtered setup before introduction. Avoid adding many fish or increasing feeding sharply, even after the pond appears stable.
- Check fish behavior, water movement, and aeration daily.
- Test water regularly, with extra checks after stocking or feeding changes.
- Remove captured solids before they decompose.
- Maintain biological media without unnecessarily damaging its microbial community.
- Carry out appropriate partial water changes using treated replacement water.
- Plan for power failures, especially when oxygen demand is high.
Keep records of pond volume, equipment, pipe routes, water tests, and maintenance. Those details make troubleshooting and future improvements much easier.
Conclusion
The best way to build a koi pond is to treat it as one connected system: location, depth, structure, waterproofing, filtration, and maintenance all influence one another. Finalize the design before digging, protect the liner or shell carefully, and test everything before adding fish. A well-planned pond is easier to manage and gives koi a more stable home as they grow.